You are here: Ultra Guide>Automation Web>SeleniumIDEUsage (24 Jun 2020, LiamBarrett)Edit AttachTags
Using Selenium IDE
This is a brief tutorial on the usage of Selenium IDE. The installation guide can be found here.Getting Started
After installation, you can find Selenium IDE alongside the rest of your browser addon buttons (by default, it's on the top right of the window, under the X). Clicking the button will open an instance of Selenium IDE.
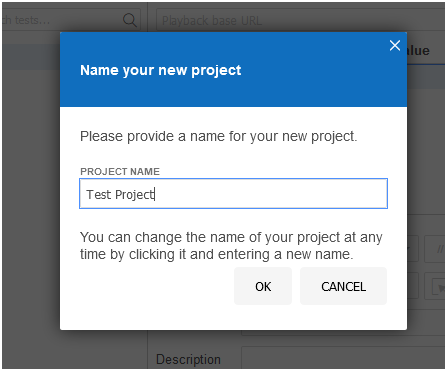
 From here, if you want to jump immediately into testing, click Create a new test in a new project, but for this tutorial, we're going to click on Create a new project. Give the project a name, then click OK.
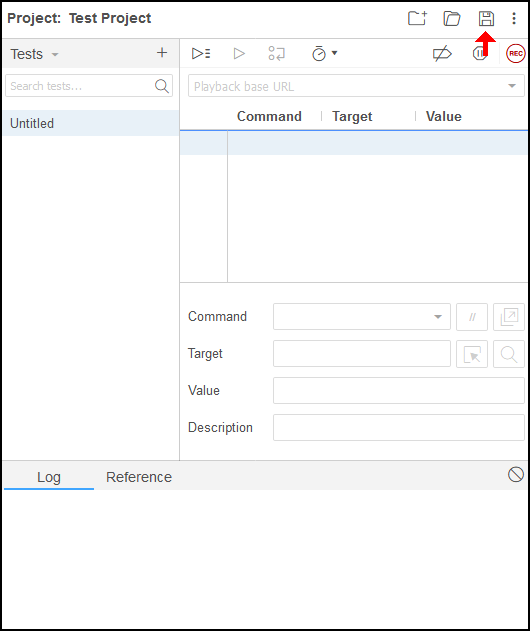
 This will present you with the main interface. Once here, click the save icon in the top right of the window and save your new test to wherever you like. It is recommended that you save often.
Setting Up Your Project
When creating a new project, Selenium IDE will create a blank test for you, named "Untitled", which you can find in the test list to the left.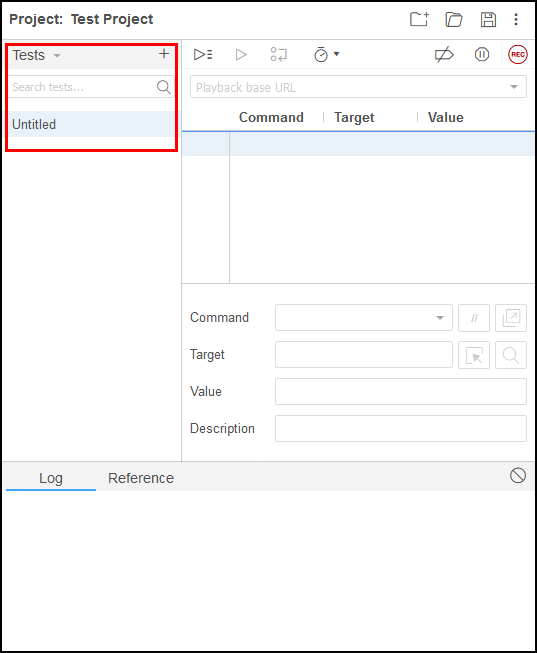 Although not required, it's recommended that you right click on the test and select Rename, then give the test a proper title for what it's testing, such as "Google Search".
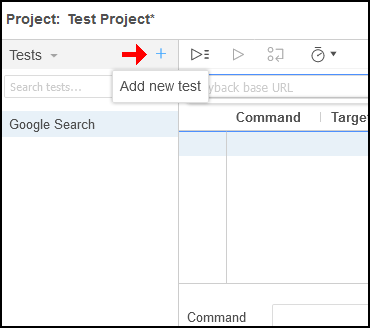
 To add another test, click the + at the top right of the Tests section.
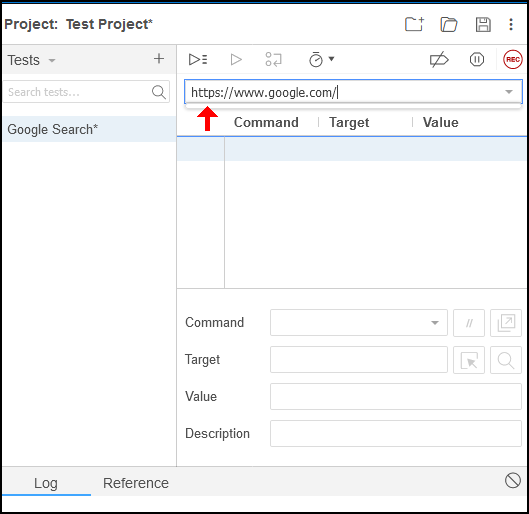
 Next, you will need to fill in the Playback base URL line with a URL. This will be the initial webpage that all of this project's tests will start from.
Making Your First Test
Once you have everything set up, click the Record button, located at the top right of the window underneath the Save icon. The icon will be replaced with a Stop icon, and a browser window will open to the base URL.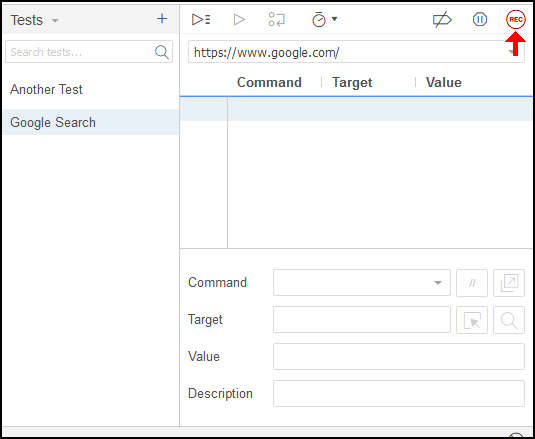 Proceed to perform the manual test as you would normally. Selenium IDE will record your actions as you perform them.
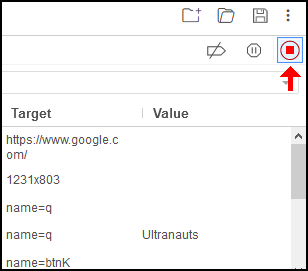
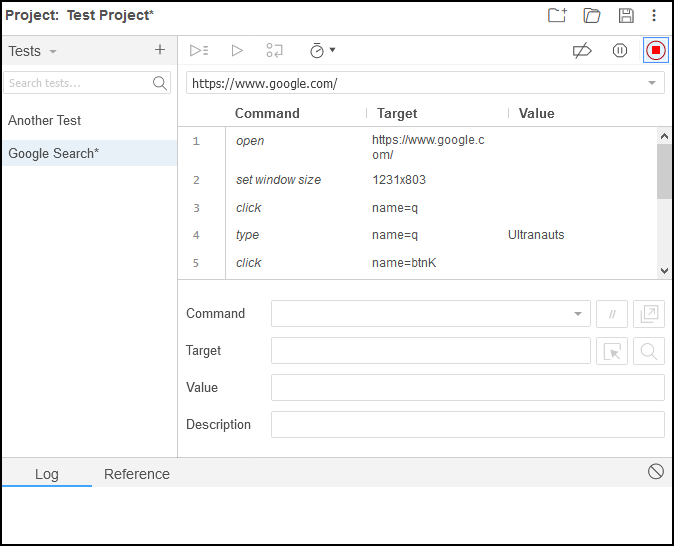 When finished, click the Stop button to stop recording. At this point, you can close the browser window that Selenium IDE opened, or you can click Record again to continue testing. Make sure to save the project once you finish recording!
Running the Tests
Once you have your test(s) recorded, you can click either of the two Play buttons. The left one will play back every test in the project, one after another; the right one will run only the test you have open.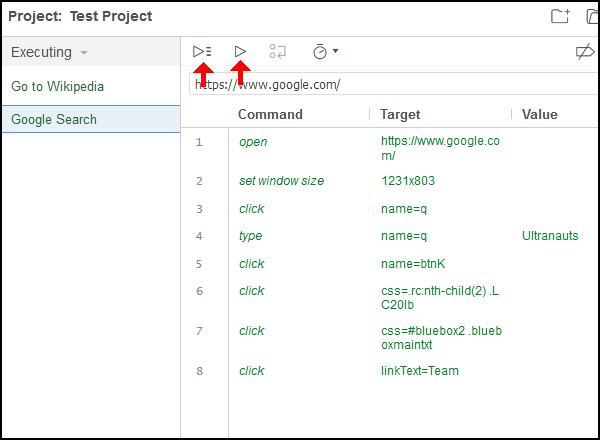 Each test will attempt to recreate the sequence of steps you performed while recording. If it gets stuck on a step for 30 seconds, it will halt playback and mark the test as failed (if running multiple tests, it will proceed to the next test in the list).
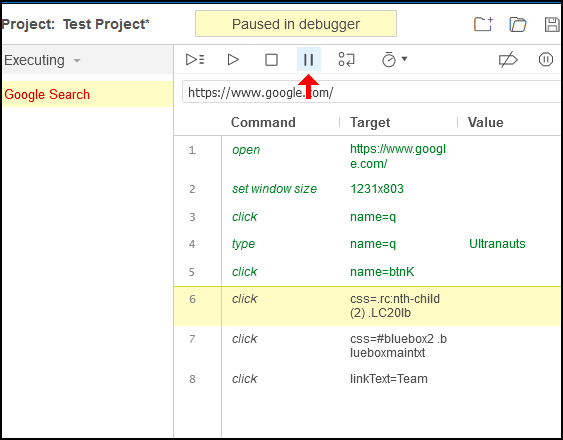
 Clicking the Pause icon will pause the test's progression at the current step; clicking it again will resume the test.
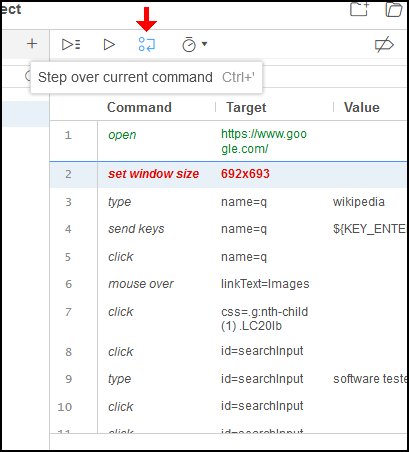
 Clicking the Step Over icon will play the currently selected step then immediately pause, letting you execute singular steps one at a time.
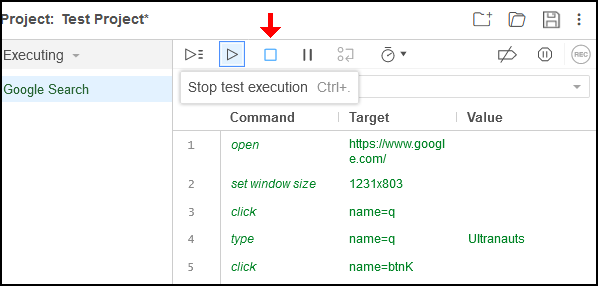
 Clicking the Stop icon will halt the test, marking the current step as failed.
Modifying Tests
If you click on a specific step, you can manually edit the step in the fields below the step list. Clicking the Reference tab at the bottom will explain the command for the selected step. Right clicking a specific step will open a menu with several options.

- Copy and Paste will let you copy a step from the current test and insert it somewhere else, either in the same test or a different test.
- Cut does the same as Copy, except it also removes the step from the current test.
- Delete will remove the step from the test entirely.
- Insert new command will let you manually insert and define a step immediately above the selected step.
- Clear all commands will produce a prompt asking if you're certain you want to delete all commands in the test - selecting CLEAR ALL COMMANDS again will wipe the test clean.
- Toggle breakpoint will set a breakpoint at the selected step. A step with a breakpoint will have a blue arrow over the step number; when the playback reaches this step, it will automatically pause. Selecting this on a step that already has a breakpoint will disable the breakpoint. You can have more than one breakpoint set.
- Play to this point will execute each step in the test prior to the selected one, and then pause. If there is a breakpoint set above the selected step, this option will not work - it will pause at the breakpoint instead.
- Record from here will play every step before the selected step, then stop the test and allow you to record additional steps, which will be inserted above the selected step. If there is a breakpoint set above the selected step, this option will fail.
- Play from here will play every step starting from the selected step. Unlike the other options, this will perform the steps on the page that's already open, rather than starting the test from the beginning. This option fails if Selenium IDE doesn't have a window open already.
Edit | Attach | Print version | History: r3 < r2 < r1 | Backlinks | View wiki text | Edit wiki text | More topic actions
Topic revision: r3 - 24 Jun 2020, LiamBarrett
PUBLIC WEB
- Toolbox
-
 Create New Topic
-
 Index
Index
-
 Search
-
 Changes
-
 Notifications
-
 RSS Feed
-
 Statistics
-
 Preferences
- Webs
-
 Automation
-
 Main
Main
-
 System
-
 Testing
© 2020 Ultranauts - 75 Broad Street, 2nd Floor, Suite 206, New York, NY 10004 - info@ultranauts.co


